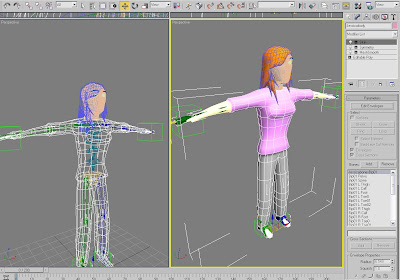
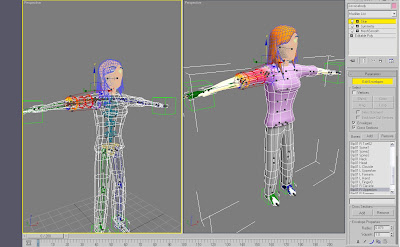
Firstly I used a biped as separate IK solvers would be more complicated and unnecessary. I drew out the Biped which can be found under create>systems>biped then I activated figure mode in the motion panel to let me edit each bone separately to get them all to the right size to fit the character. Once I had done this Matt ran some tests and found that there were areas that were not correct as the arm bone would move but leave half of the arm behind!

This was easily solved by editing the envelopes to enlarge them so that they encompass the whole arm. Now the body was fully working. The head was a separate object from the rest of the body so I simply linked it to the head bone so that when that moved the head and hair moved as well.

Animating a crowd could get sticky so I chose to add some dummy's to make it easier to move the hands and feet. Unfortunately dummy's can't just be linked to bones, I found this out after about 15minutes of screaming and the computer screen.
I did eventually find out how to do it which I will now explain.
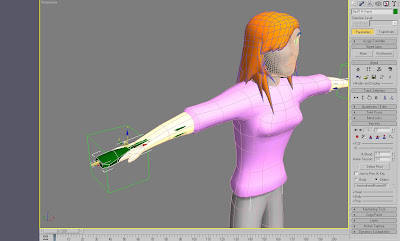
First I drew a dummy and named it appropriately, for i.e. Jessicahanddummy (found under create>helpers>dummy)
Secondly I selected the hand bone and under the motions panel I expanded the KeyInfo properties drop down menu then I expanded the IK properties timeline. After this I clicked 'Select IK Object' and selected the dummy. I then clicked 'Create Key' (red dot) and set the type to Object and the IK blend to 1.0.
After I finished adjusting these settings I tested the dummy and the hand went with it! Amazing!

Tune in next time for some crazy animations...I hope!
No comments:
Post a Comment