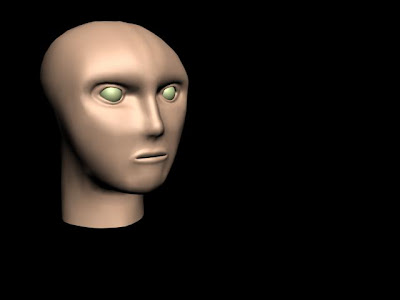
So to business. First fully model a head to perfection in 2 hours. Okay done that? Good, it should look something like this:

Step 2. Press 'm' to open the materials window, then click and drag the up arrow next to 'colour' to 100. The problem then becomes it is too bright so you may find yourself dimming the percentage to 50/60 to let a bit of shading come in. After this click the plain button next to Diffuse and add a Fallout map.

Step 3. Click the swap maps to make the black the outline, then change the lighter colour to a skinng colour.

Step 4. On the Mix Curve rollout click 'add point' add points and then adjust them to make sure there are No diagonal lines at all as these will create gradients which you don't want. You can tell because below is a bar with all of the colours and there should be no gradients there. Note my example has 3 colours but to add more colours simply add more horizontal lines.
Then click add material to selection.

Below on the right is the finished product, you can then add a material for the eyes as well. (I clicked the invert radio button and look! soooo cool he looks like ice man/silver surfer.

No comments:
Post a Comment